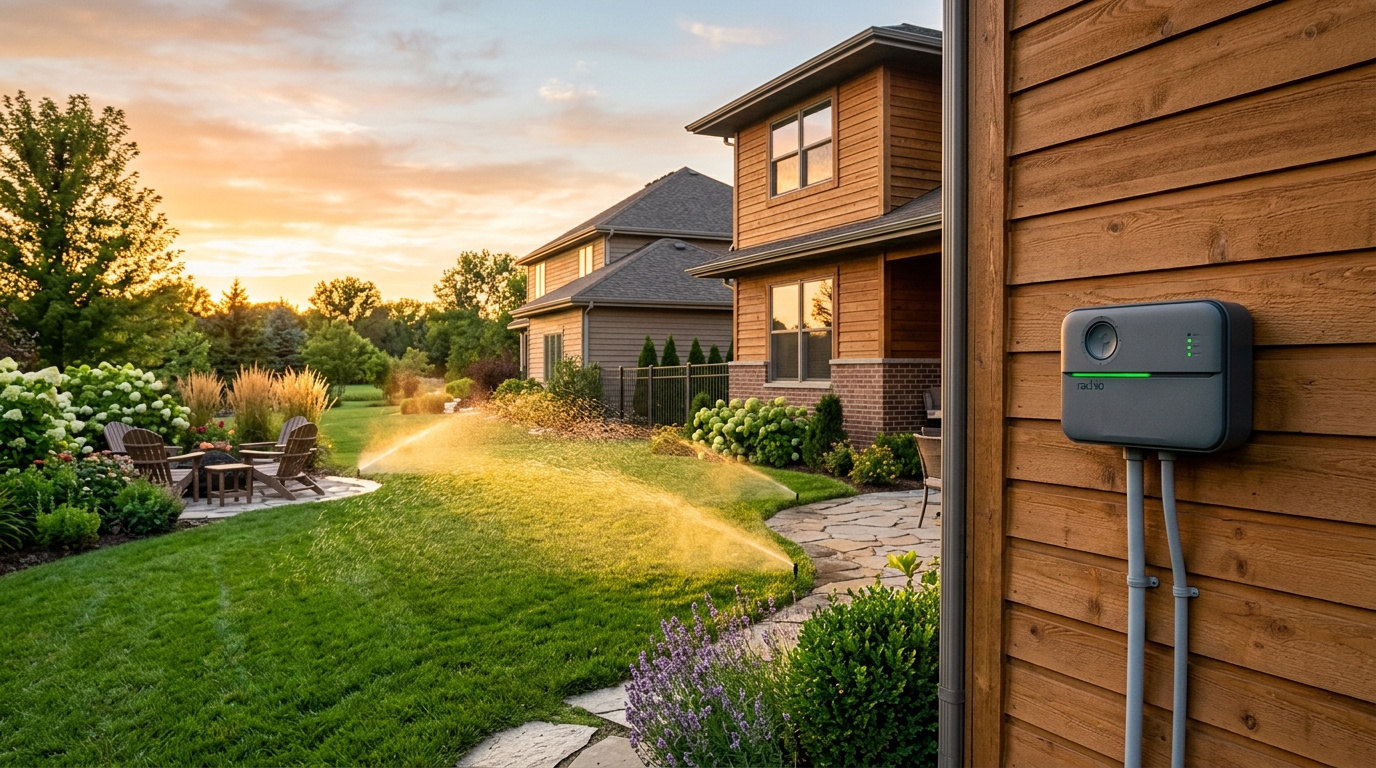
Replacing an analog mechanical sprinkler timer with a smart irrigation controller allows homeowners to automate watering cycles based on local weather data and evapotranspiration rates. In regions with municipal water conservation programs, utilities frequently offer incentive rebates for EPA WaterSense-labeled controllers, though rebate amounts, qualification requirements, and funding cycles vary significantly by water district.
The conversion is widely approached as a homeowner project because residential in-ground sprinkler valve wiring operates on 24VAC low-voltage control circuits.
However, low-voltage control does not mean the entire installation is hazard-free. The system still interfaces with 120V line power at the wall transformer, outdoor installations require weatherproof enclosures and GFCI protection, and high-voltage pump start relays present serious electrical shock risks. Furthermore, misidentifying shared common wires, ignoring manufacturer-specific terminal requirements, or improper compressor blowout during winterization can rupture underground plumbing.
Here is how residential 24VAC irrigation control circuits operate, how to verify rebate eligibility through official channels, how to wire the terminal block cleanly, and when you should call a licensed irrigation specialist.
Low-Voltage Control vs. High-Voltage Hazards: The Electrical Boundary
Most residential sprinkler timers are mounted in a garage or on an exterior utility wall. Understanding the safety boundaries before opening the enclosure prevents equipment damage and electrical hazards.
Under National Electrical Code (NEC) Article 725, standard residential irrigation valve circuits qualify as Class 2 power-limited circuits operating at nominal 24VAC. This voltage level carries minimal shock hazard at the valve wires. However, critical safety boundaries must be observed:
- 120V Transformer Input: The external plug-in transformer converts 120V alternating current into 24VAC. Never tamper with the internal transformer potting, and always connect outdoor units to an approved GFCI-protected weatherproof outlet (NEC 406.9).
- Pump Start Relay Warning: If your system draws water from an on-site well or irrigation canal, the
M(Master) terminal triggers a pump start relay. The relay enclosure contains lethal 120V or 240V line voltage. Never open or service a pump start relay without shutting off the dedicated circuit breaker at the main electrical panel. - Enclosure Ratings: Outdoor controllers must be housed in a NEMA 3R or NEMA 4 weatherproof cabinet. Indoor-rated baseplates installed outdoors will short-circuit from rain infiltration and humidity.
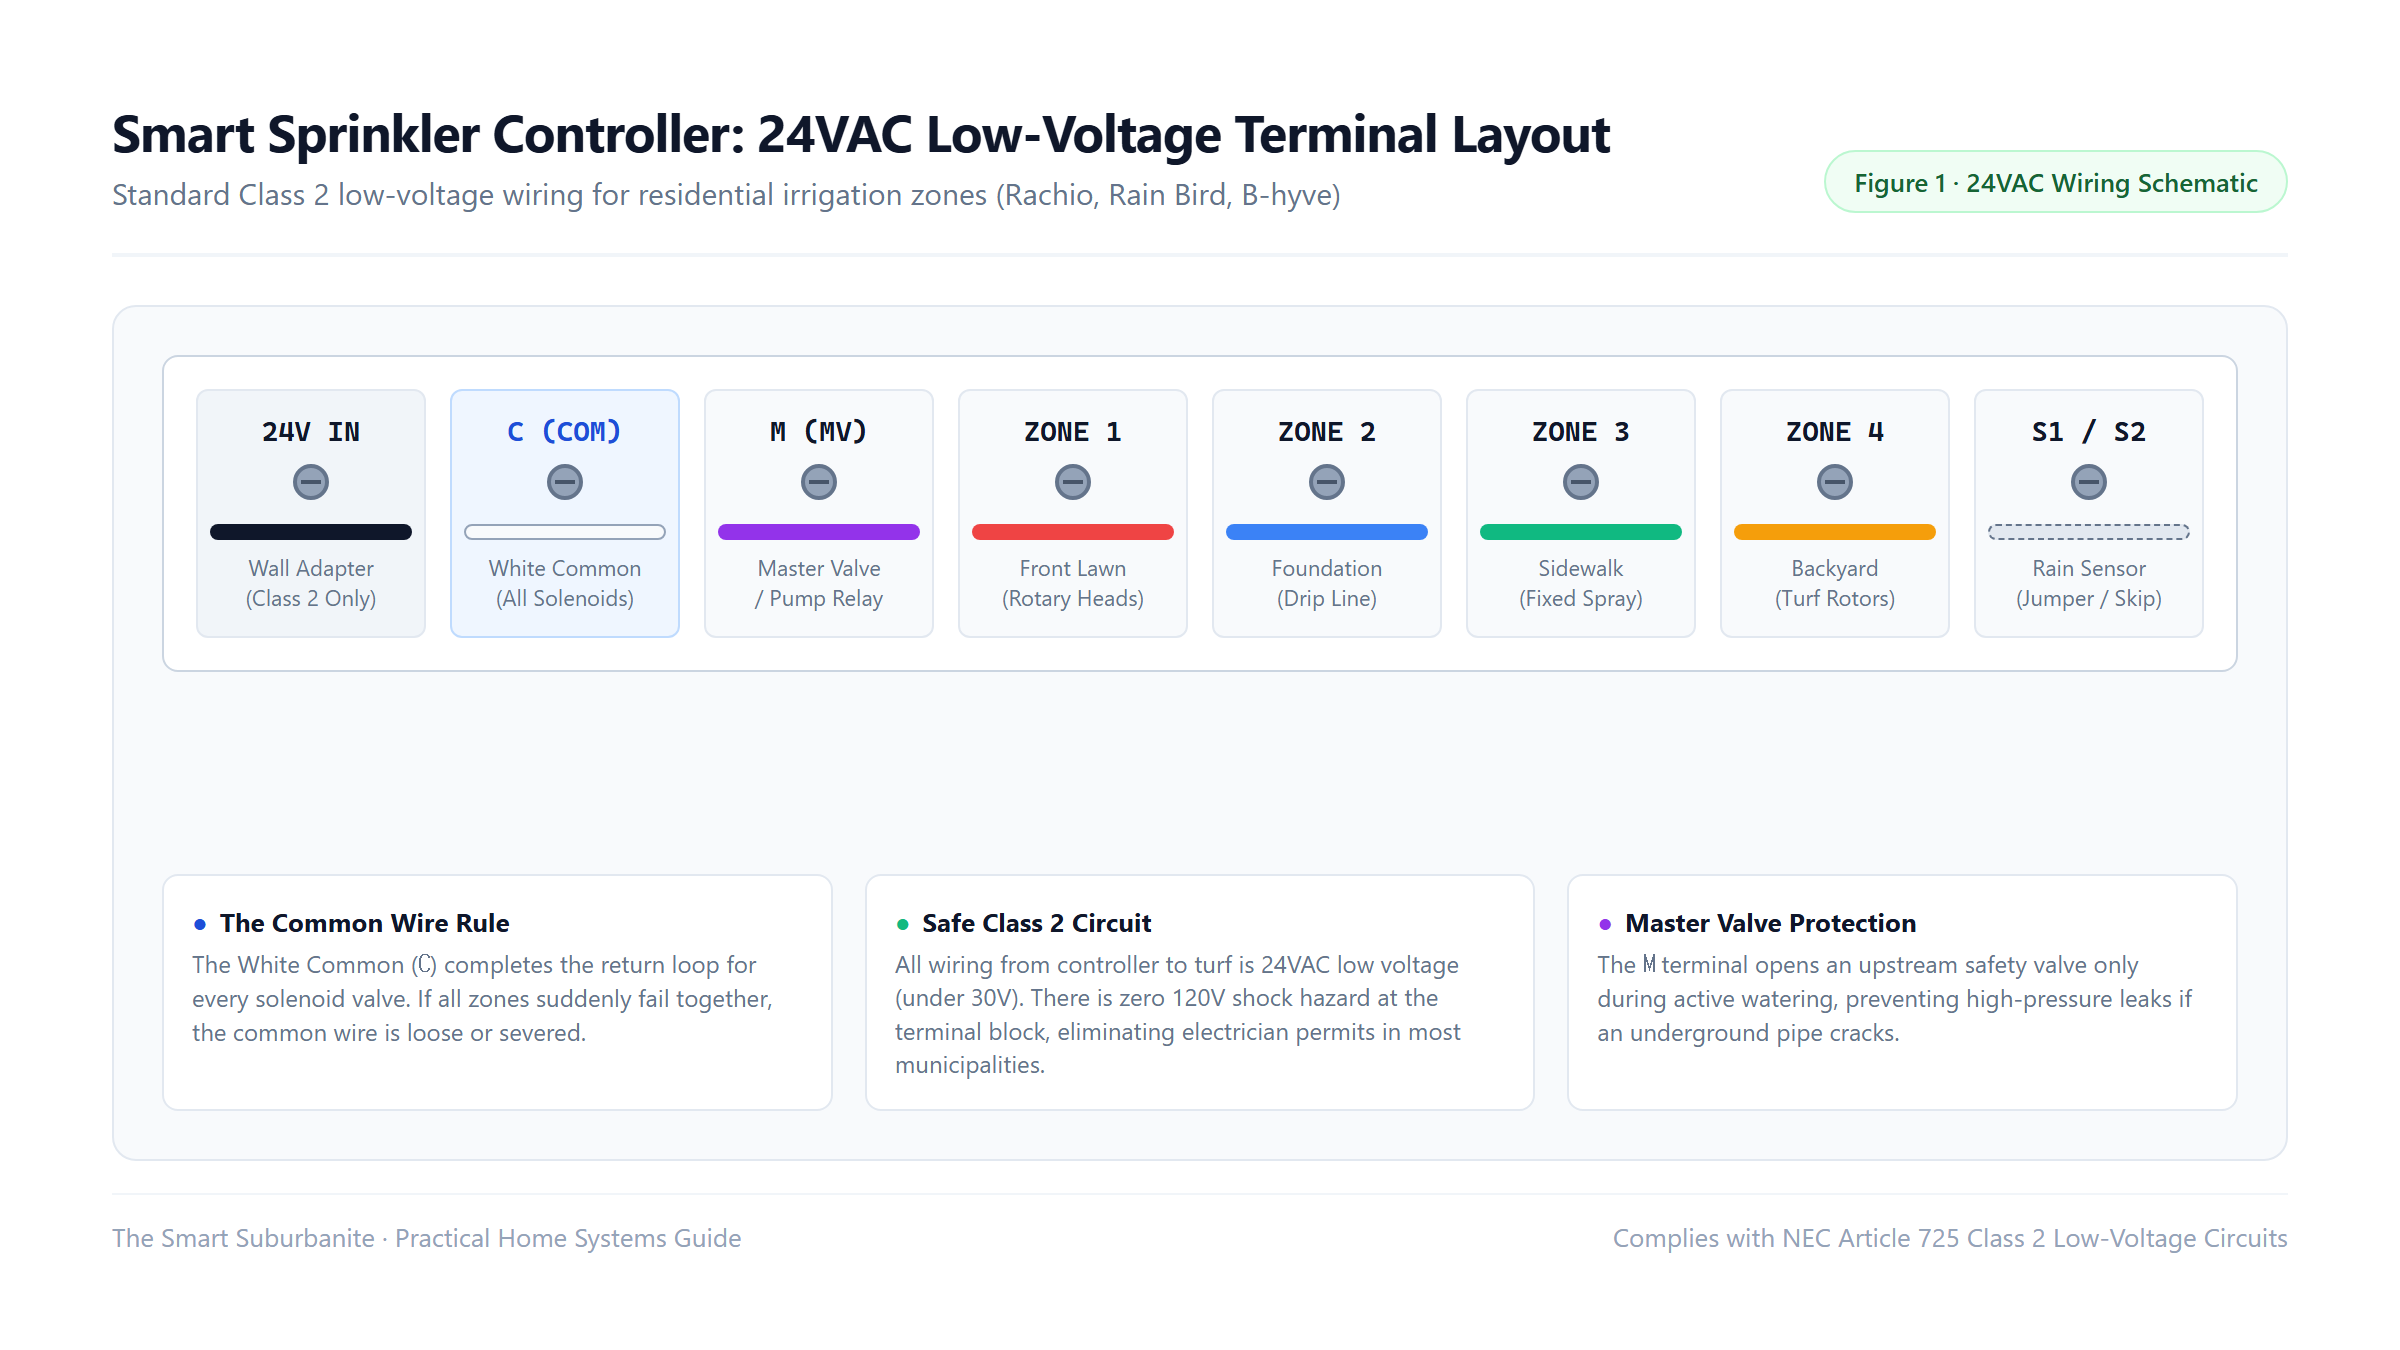
The Five Essential Terminal Functions
- Common Wire (
CorCOM, typically White): The shared return path for every solenoid valve. It runs underground to the valve boxes, connecting to one lead of each zone solenoid. If this connection loosens, every connected zone fails simultaneously. - Zone Wires (
1through6,8, or16): Individual colored wires dedicated to specific irrigation zones (such as front turf rotors, foundation drip tubing, or shrub sprayers). - Master Valve / Pump Terminal (
MorMV): Sends 24VAC to an upstream safety valve or pump relay while any zone is active. - Sensor Terminals (
S1,S2, orSC): For optional hardwired mechanical rain or freeze sensors. When migrating to Wi-Fi weather-skip controllers, these often remain unused or require software bypass settings. - 24VAC Power Input: Two terminals receiving stepped-down power from the manufacturer-supplied plug-in adapter. Polarity is interchangeable for AC power.
Step-by-Step Retrofit: Labeling and Terminal Connections
Before disconnecting any wiring, photograph the existing terminal block clearly. Residential landscaping crews do not follow universal wire color standards; while white is standard for common, zone colors are entirely arbitrary.
[Step 1: Inspect Zones] -> [Step 2: Photograph & Label] -> [Step 3: Disconnect 24V Power]
        │
└─► [Step 4: Mount New Baseplate] -> [Step 5: Connect Terminals & Test]- Run a Manual Pre-Test: Turn on each zone for two minutes from the existing timer. If a zone fails to spray, diagnose existing valve, plumbing, or nozzle issues before installing the new controller.
- Label the Common Line: Locate the wire running to
CorCOM. Wrap it with masking tape marked “COMMON”. If two common wires are present (common in split front/backyard manifolds), note whether your new controller supports dual common terminals or requires an approved pigtail twist. - Unplug Power: Disconnect the 24VAC power adapter from the wall outlet before touching wire terminals.
- Mount the Baseplate: Secure the new baseplate to the wall using drywall anchors or wall stud screws. Ensure the low-voltage bundle passes cleanly through the bottom conduit opening.
- Secure Push Terminals: Insert stripped wire ends (typically 1/4 to 3/8 inch bare copper) firmly into the spring-loaded terminals. Pull gently to confirm mechanical retention.
- 2.4 GHz Network Configuration: Pair the controller to your home Wi-Fi network. Like most smart home field hardware, irrigation controllers rely on 2.4 GHz radios for range and wall penetration; ensure your smartphone is connected to the 2.4 GHz band during pairing.
Solenoid Valve Mechanics in the In-Ground Manifold
What occurs physically in the lawn when a smart controller activates a zone?
Underground in the turf, housed within a plastic valve box, sits the irrigation manifold. Each zone is actuated by an electromechanical solenoid valve.
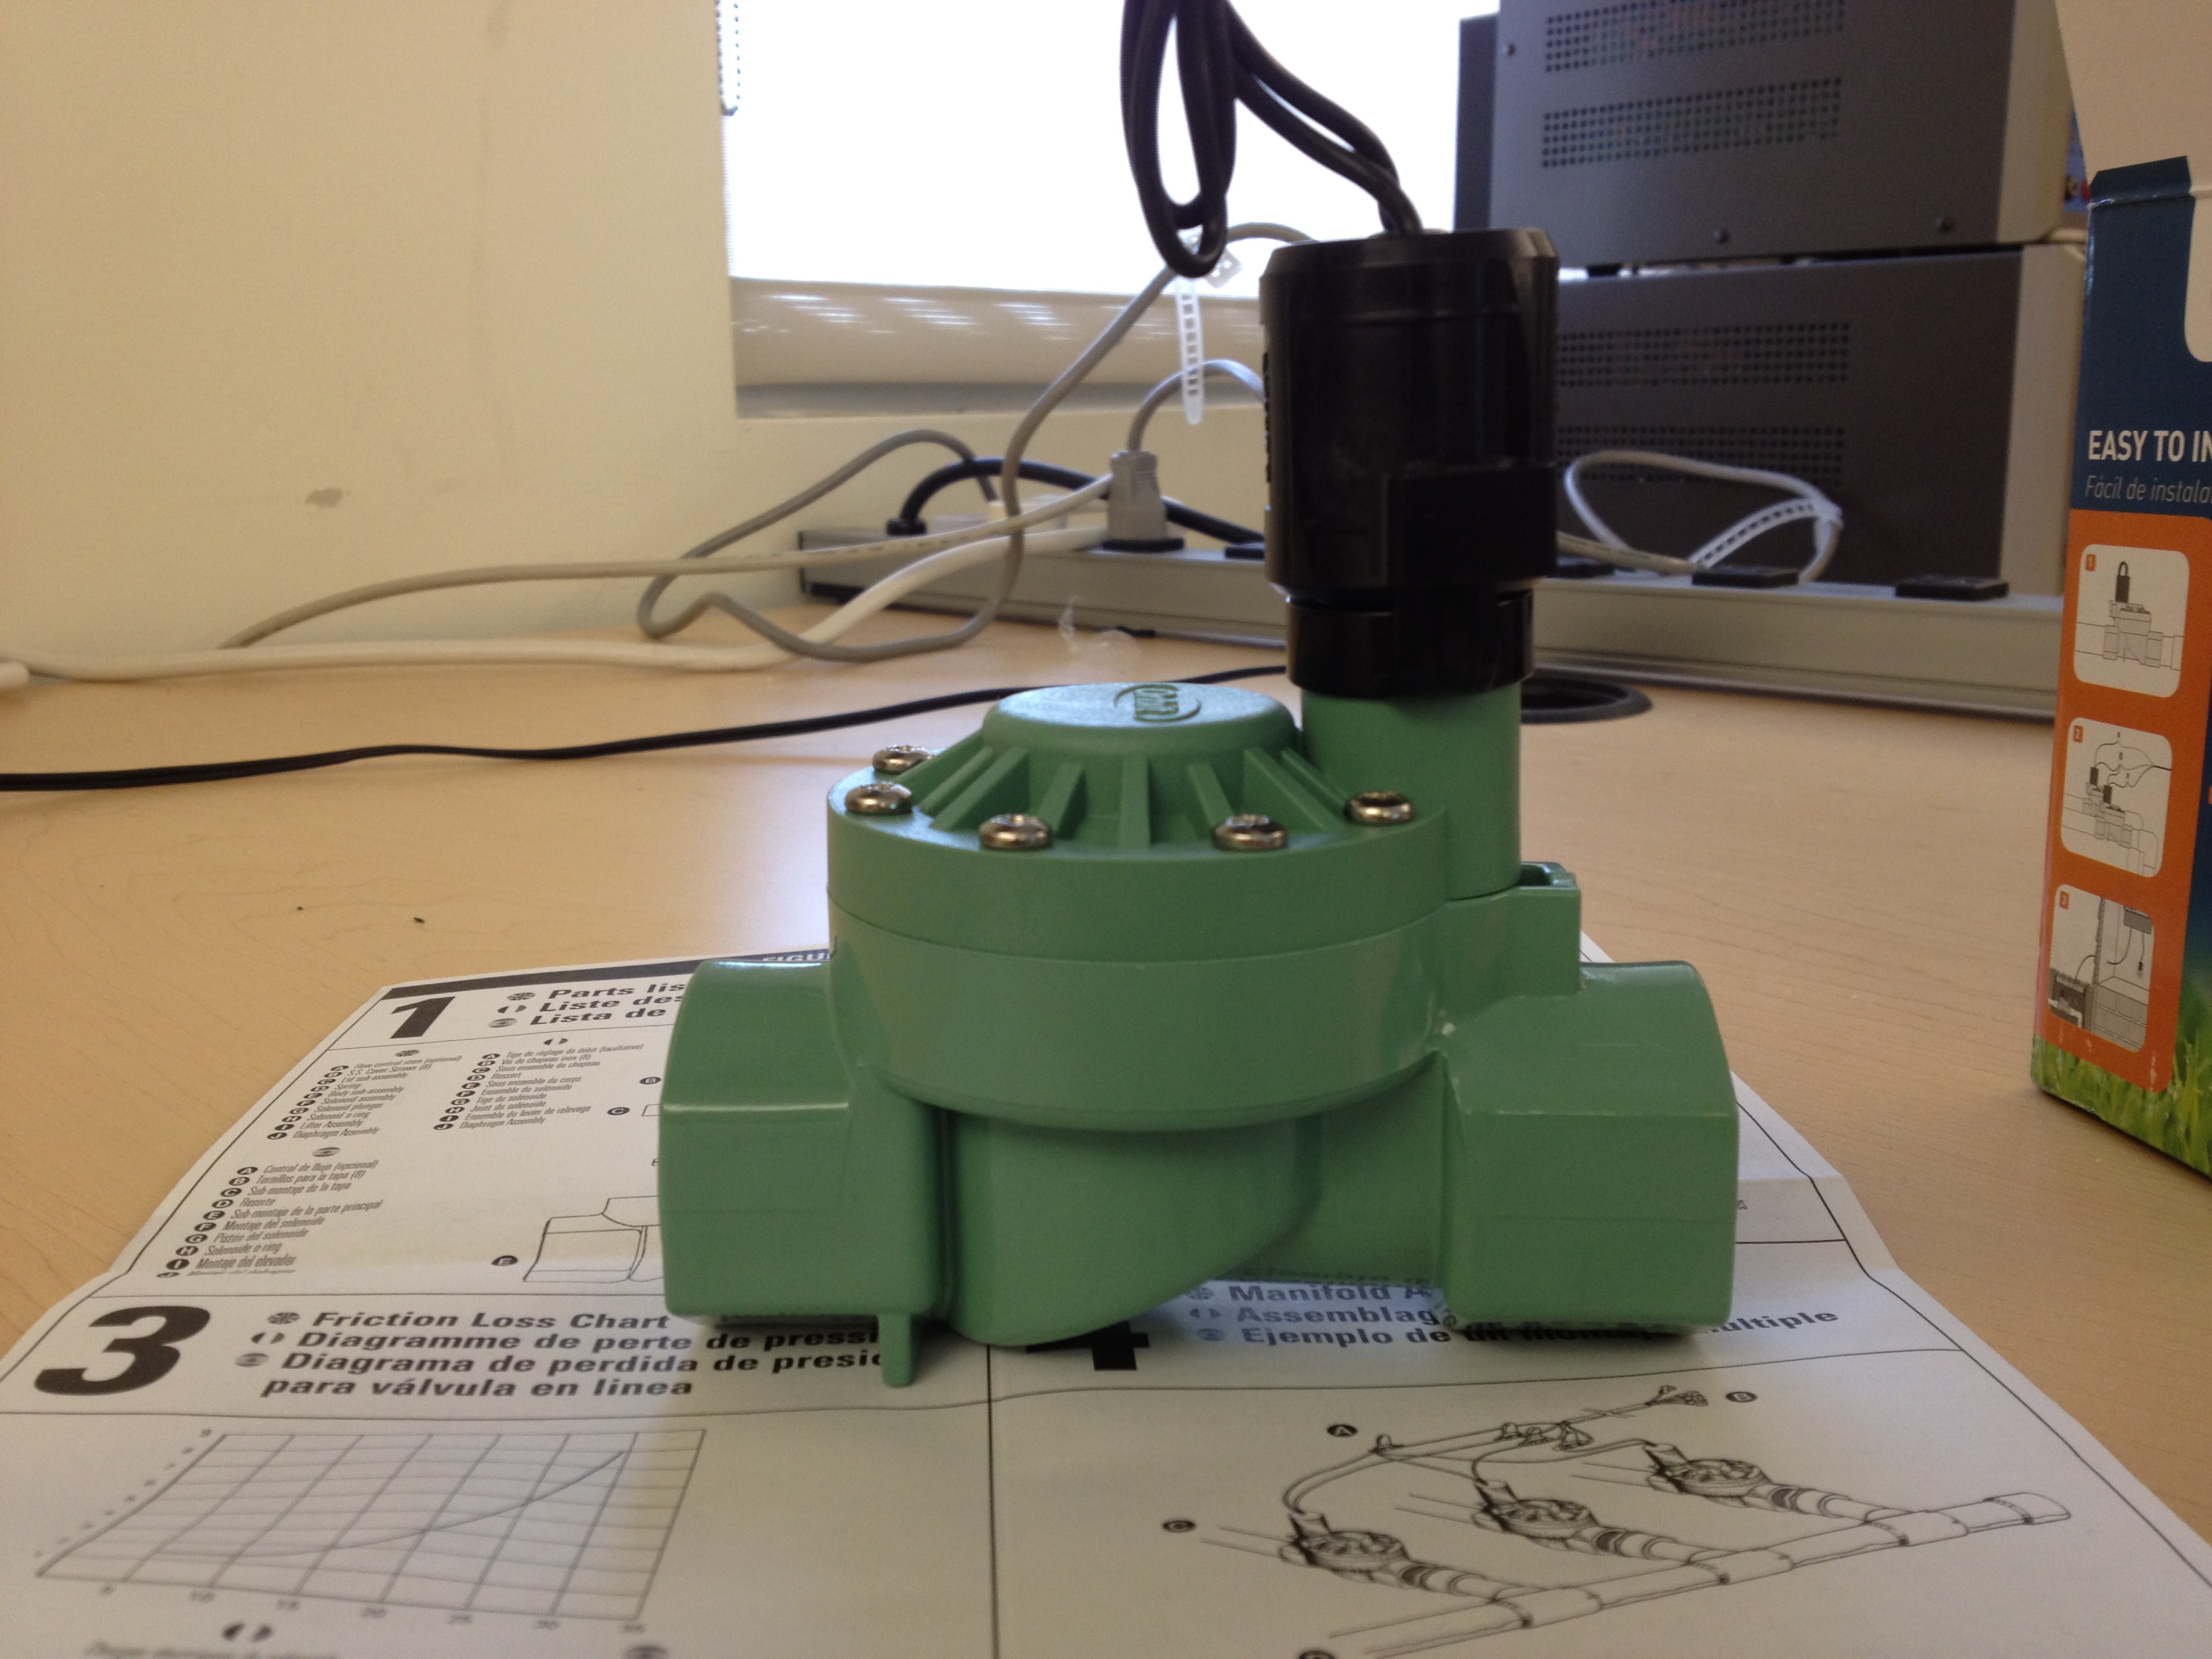
When the controller sends 24VAC down a zone wire:
- Current energizes the copper windings in the solenoid, creating a magnetic field.
- The magnetic field lifts an internal steel plunger off an exhaust port.
- This releases water pressure from the upper chamber above the rubber diaphragm into the downstream pipe.
- The higher water pressure beneath the diaphragm pushes it upward, opening the main waterway to the sprinkler heads.
- When power ceases, a spring forces the plunger back down, water pressure equalizes above the diaphragm, and the valve seals closed.
Because sealing relies on water pressure differentials, mineral scale, sand grit, or a torn rubber diaphragm can prevent the valve from closing, causing continuous weeping even with the controller turned off.
Verifying EPA WaterSense Rebates Through Official Channels
Rather than assuming rebates are guaranteed, homeowners should navigate official validation channels.
The EPA WaterSense program independently tests and certifies weather-based irrigation controllers. Certified models must adjust runtimes based on local meteorological factors (evapotranspiration, or ET) and postpone cycles during rain events without causing runoff. According to EPA WaterSense benchmark documentation, replacing a standard clock timer with a certified weather-based controller can save an average home nearly 7,600 gallons of water annually (equivalent to roughly 480 showers) in baseline residential modeling. However, the EPA and regional water districts explicitly note that actual conservation varies substantially based on geographic climate zones, turfgrass square footage, soil percolation, and existing watering efficiency.
How to Check and Claim Local Rebates
- Use the EPA WaterSense Rebate Finder: Search the official EPA rebate database (
epa.gov/watersense/rebate-finder) using your ZIP code. - Confirm with Your Water Provider: Rebate availability is strictly dependent on municipal utility funding. In water-stressed western states (such as parts of California, Nevada, and Utah), utilities frequently offer $50 to $150 bill credits. In regions with abundant water supplies, utilities may offer no irrigation incentives at all.
- Verify Product Inclusions: Confirm that the exact model number (e.g., Rachio 3 8ZULW-C, Orbit B-hyve 57950, Rain Bird ARC8) appears on the utility’s approved products list.
- Retain Itemized Purchase Proof: Applications require a retailer invoice showing model number, purchase date, and retail price, submitted within the utility’s deadline (often 60 to 90 days from purchase).
Diagnosing the 4 Common Field Failures
When an irrigation zone malfunctions after installation, test these physical failure modes systematically:
1) All Zones Fail to Activate Simultaneously
If the controller shows active watering but no heads pop up across the entire yard, individual zone circuits are rarely the problem:
- Inspect the
C(Common) terminal for a loose wire. - Check the in-ground valve box. Outdoor wire splices corrode quickly if standard indoor wire nuts were used instead of silicone-filled waterproof grease wire nuts.
2) The Controller Reboots When a Zone Starts (Solenoid Coil Fault)
If the controller resets or logs an over-current error when a specific zone fires, that zone’s solenoid coil is shorted:
- Use a digital multimeter set to resistance (Ohms, $\Omega$).
- Measure between the common wire and the specific zone terminal.
- Reference Range: For common residential 24VAC solenoids (Rain Bird, Hunter, Orbit), normal resistance typically falls within a 20 to 60 ohm reference range at room temperature. Check your specific valve’s engineering datasheet for exact acceptable tolerances.
- Shorted Condition: Readings below 12 ohms indicate melted internal winding insulation. Replace the individual solenoid.
3) “Phantom Skips” During Hot Weather
Smart schedules relying on distant commercial weather stations (10–20 miles away) may detect a regional rain probability and cancel watering while your yard remains bone-dry:
- Switch the weather source in the controller app to a verified hyper-local Personal Weather Station (PWS) within 1–2 miles of your home.
- Verify whether the controller supports dynamic evapotranspiration calculations rather than simple binary rain threshold skips.
4) A Zone Continues Spraying When Power Is Disconnected
If a zone will not shut off, unplug the controller power cord completely:
- If water continues flowing with zero electrical power, the failure is mechanical: debris is trapped beneath the rubber diaphragm or the manual bleed screw is partially opened.
- Shut off the main irrigation supply, disassemble the valve bonnet, and flush the diaphragm seat.
Winterization Hazards: When to Call a Professional
In regions subject to sub-freezing winter temperatures, water trapped in underground PVC or polyethylene pipes will freeze, expand, and shatter manifolds and backflow assemblies.
Clearing lines with compressed air (“blowout”) carries real equipment and personal safety risks, and operational parameters are not universal across all irrigation systems:
- Pressure and Pipe Material Differences: High-pressure compressed air can rupture brittle rigid PVC pipe and valve bonnets into flying plastic shrapnel, while flexible polyethylene (poly) tubing behaves differently under thermal stress. While some manufacturers (such as Rain Bird) cite 50 PSI as a maximum safe ceiling in their homeowner literature, exact pressure and volume requirements depend on line diameter, head count, elevation changes, and pipe material.
- Volume (CFM) vs. Pressure Realities: Effective blowout relies on high air volume (CFM) to push water out rather than excessive pressure (PSI). Typical home garage compressors (often rated for only 3–6 CFM) lack the sustained volume required to evacuate multi-head zones quickly. Running an undersized compressor repeatedly can generate dry friction heat that degrades internal solenoid diaphragms and valve seals.
- Backflow Preventer Fragility: Pressure vacuum breakers (PVBs) and reduced pressure zone (RPZ) assemblies contain delicate internal check valves that blow out easily under incorrect airflow directions.
- Professional Winterization Recommendation: Because equipment sizing and safety precautions vary across residential irrigation layouts, homeowners in freeze zones should contract a licensed, insured irrigation professional who uses regulated commercial compressors and proper backflow bypass fittings.
[Irrigation Maintenance Decision Guide]
 ├── Homeowner Maintenance:
 │    ├── [ ] Terminal block wiring and controller baseplate swaps.
 │    ├── [ ] Replacing 24VAC solenoids using waterproof grease wire nuts.
 │    ├── [ ] Adjusting app weather stations, seasonal runtimes, and local rain skips.
 │    └── [ ] Cleaning valve diaphragm debris and unclogging drip emitter filters.
 └── Professional Contractor Work:
      ├── [!] High-pressure compressed air winterization blowouts (high CFM).
      ├── [!] Servicing backflow prevention assemblies (annual certification required).
      ├── [!] Wiring high-voltage (120V/240V) pump start relays or main panel circuits.
      └── [!] Locating deeply buried broken pipes or tracing severed multi-conductor wire runs.
By focusing on verified low-voltage terminal wiring, checking local rebate realities through official EPA resources, and respecting the boundaries between homeowner maintenance and professional blowout services, a smart controller upgrade delivers reliable, automated lawn care without unexpected plumbing disasters.